
WorkBuddy Guide
WorkBuddy is Tencent's desktop AI agent workspace. It supports local file workflows, Skills, MCP, automations, and custom models. Its OpenAI-compatible custom model support can connect to TokenFlux.
Download and Install
- Open the official WorkBuddy download page. You can also start from the China website or the international website.
- Choose the build that matches your device:
- Apple Silicon Mac: choose
arm64. - Intel Mac: choose
x64. - Windows: choose the Windows installer.
- UnionTech UOS / Kylin: follow the official download page's instructions to install from your system's app store.
- Apple Silicon Mac: choose
- On macOS, open the downloaded DMG and drag
WorkBuddy.appintoApplications. On Windows, follow the installer prompts. - On first launch, WorkBuddy prepares its local runtime. Keep the network available and wait for the welcome screen instead of force-quitting the app.
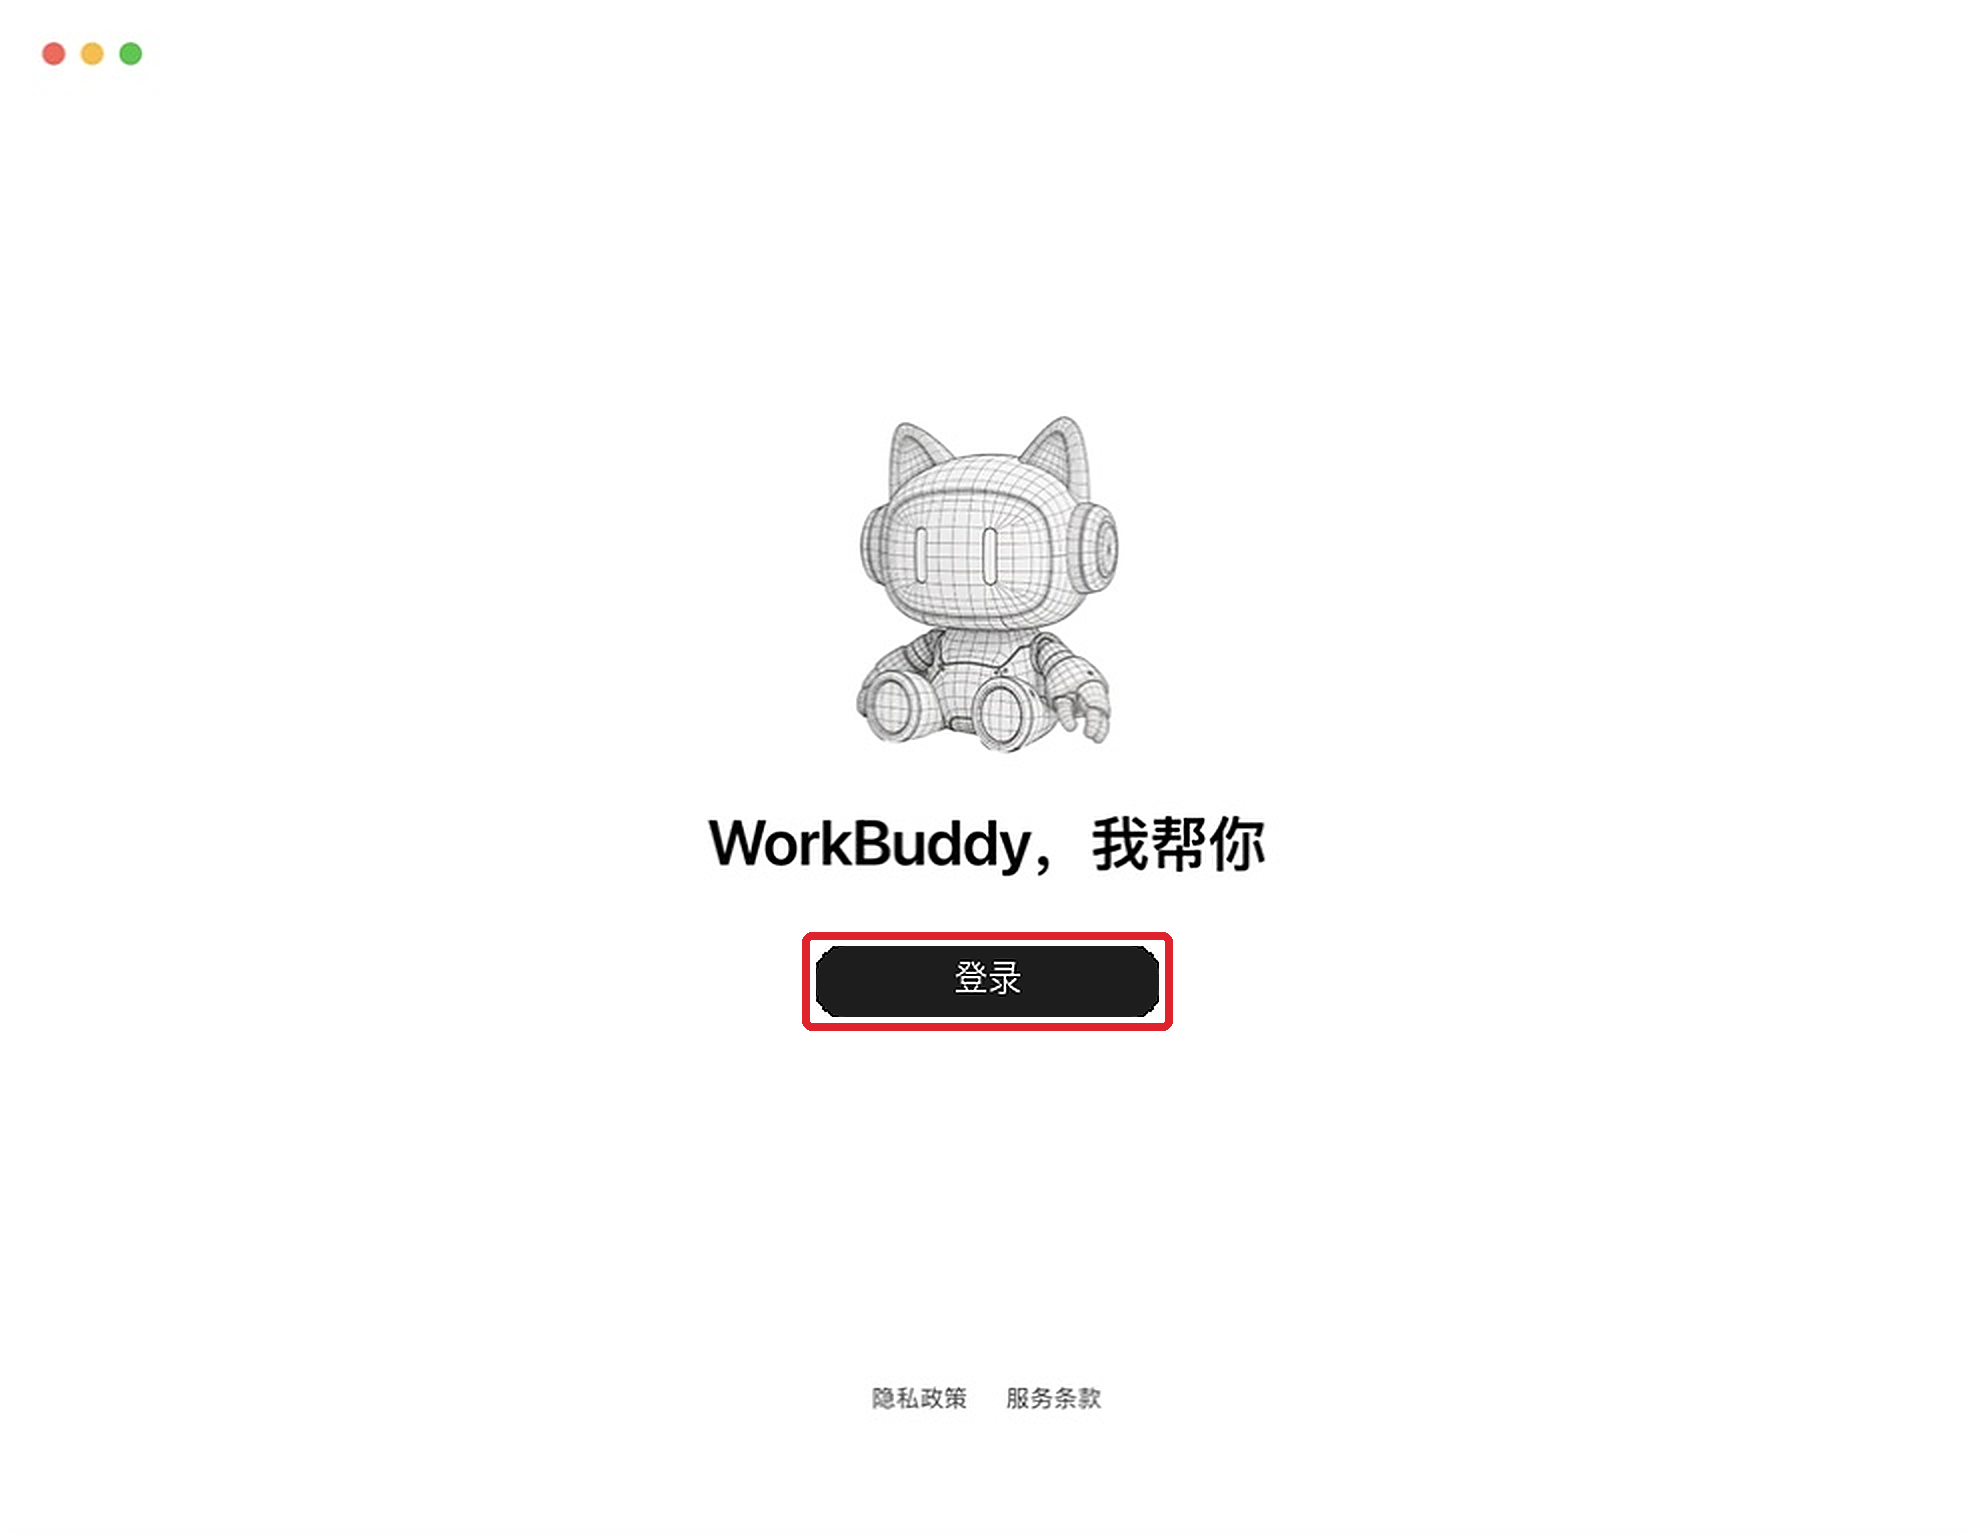
When preparation finishes, the welcome screen appears. Click Log in to continue.
Sign In
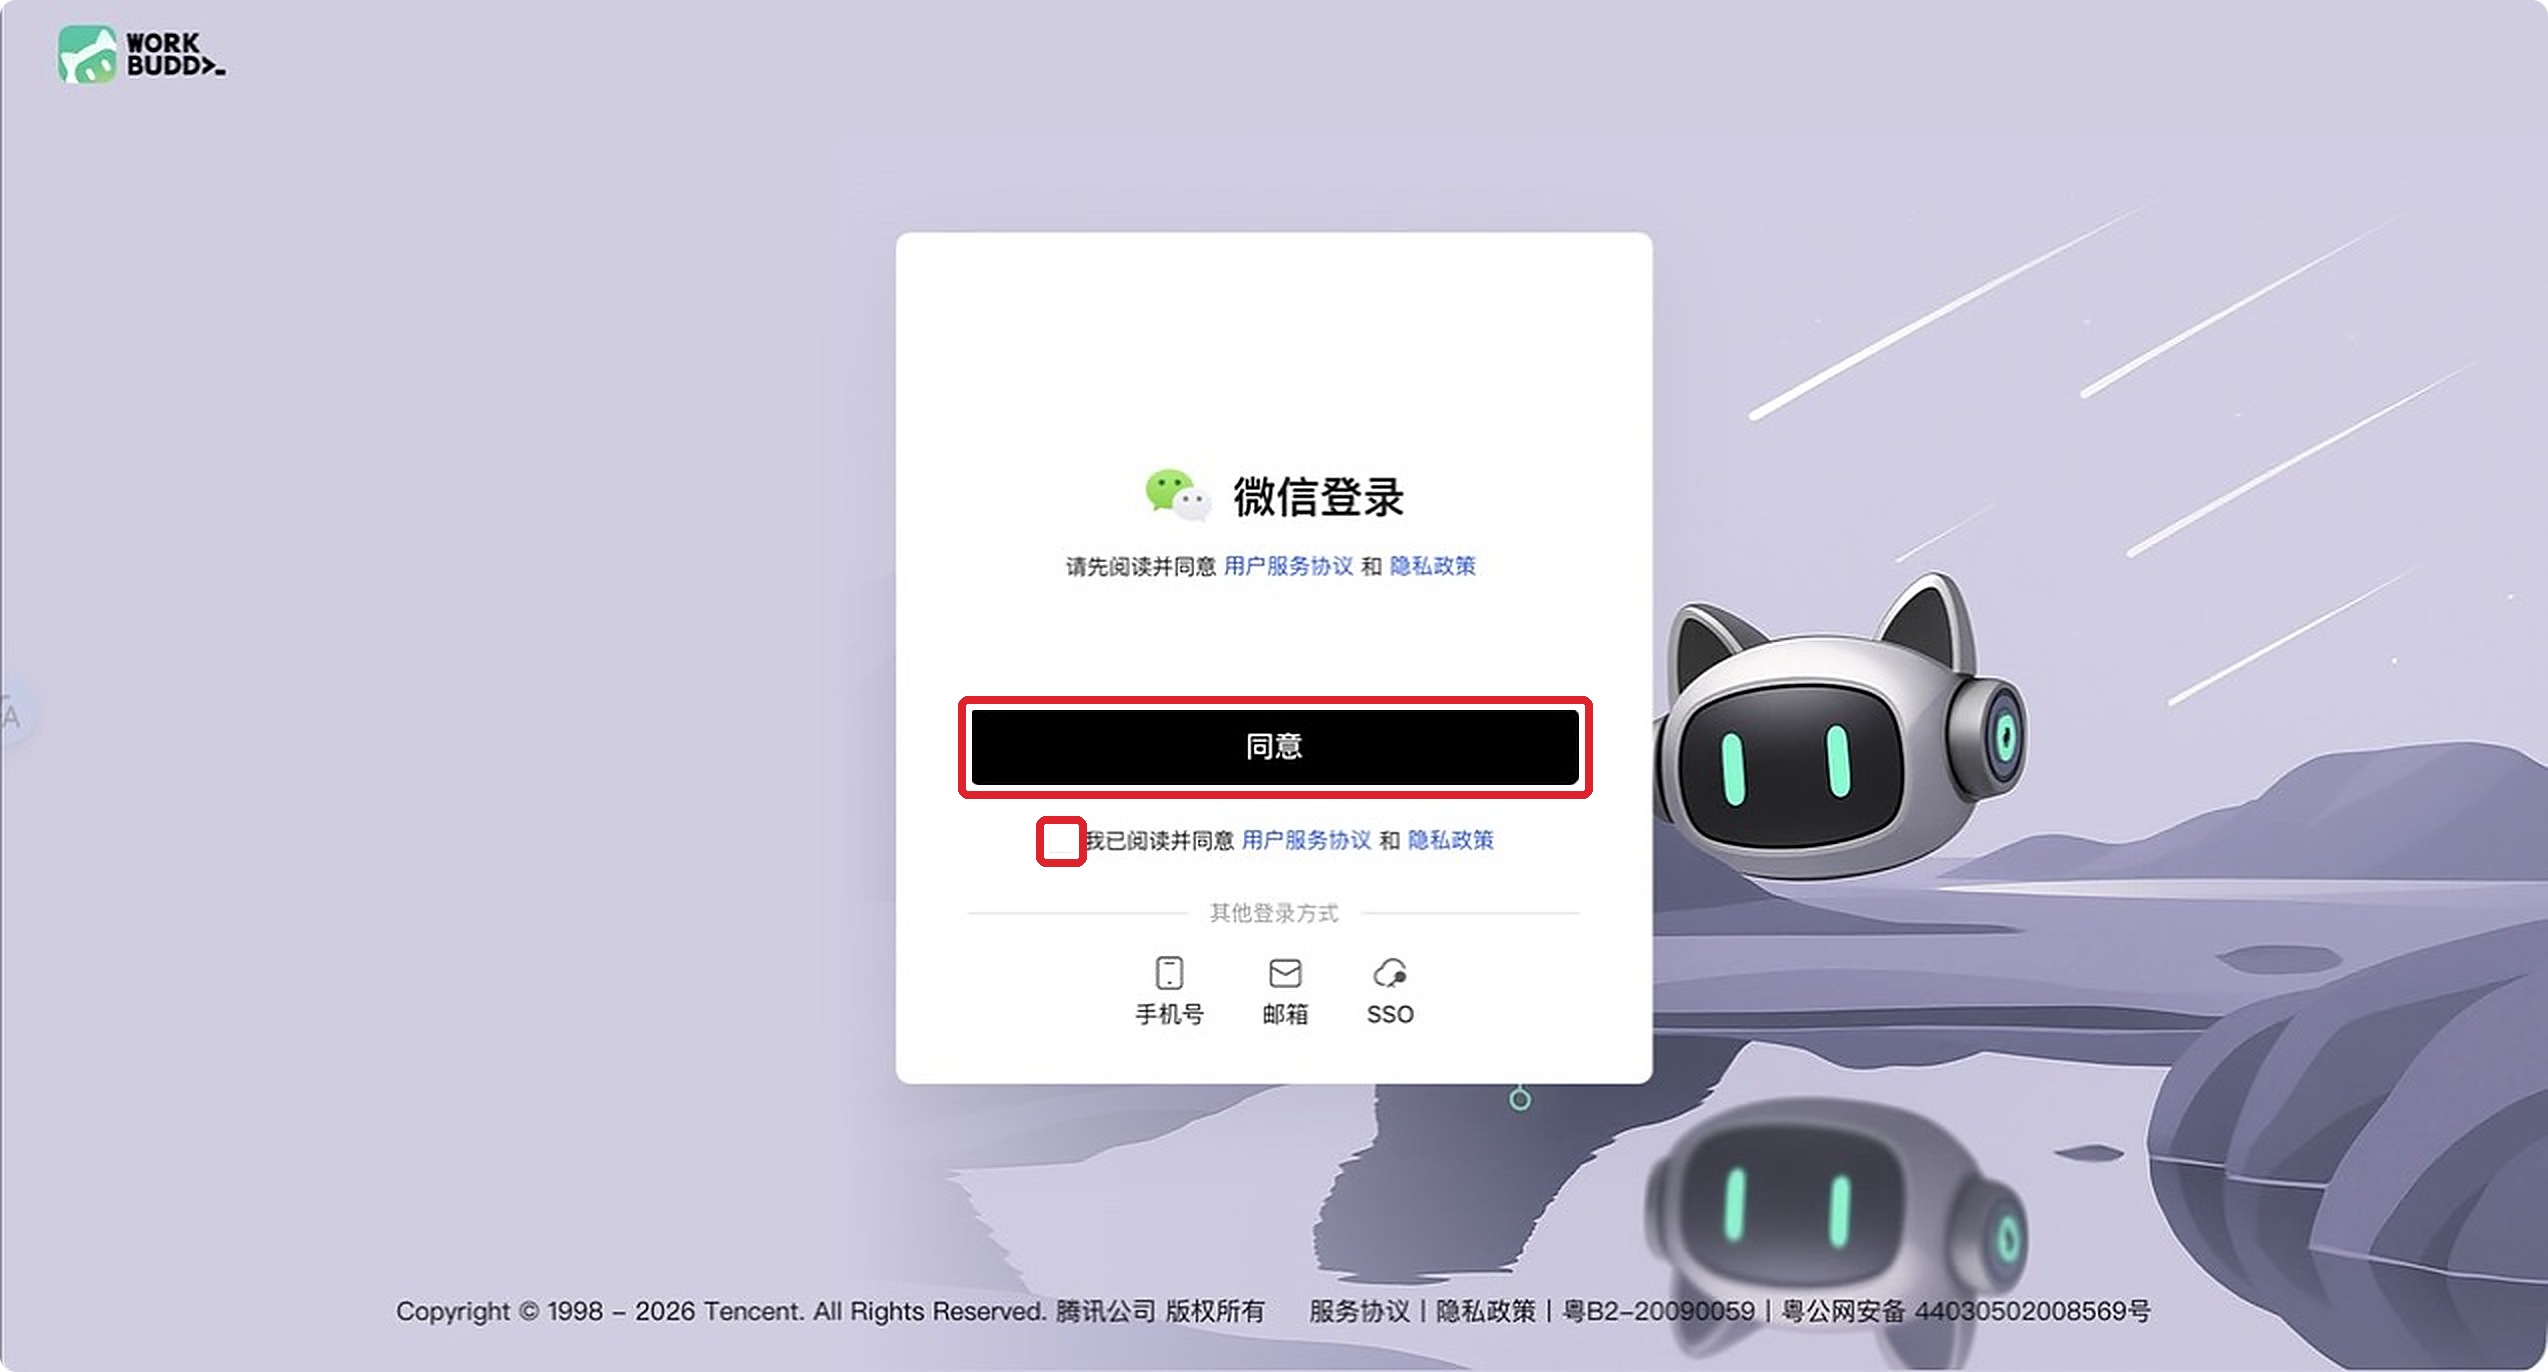
WorkBuddy opens the Tencent CodeBuddy sign-in page in your browser.
- Read the user agreement and privacy policy.
- Select the agreement checkbox and click Agree.
- Authenticate with WeChat, phone, email, or SSO. Available methods can vary by region and account type.
- Return to WorkBuddy after the browser reports a successful sign-in.
Connect TokenFlux
1. Prepare an API Key
Follow Create API Key, then check the model marketplace for the exact model IDs available to that key's group.
2. Open Custom Model Settings
After signing in to WorkBuddy, open:
- The avatar or account menu.
- System Settings.
- Models.
- Add Model.
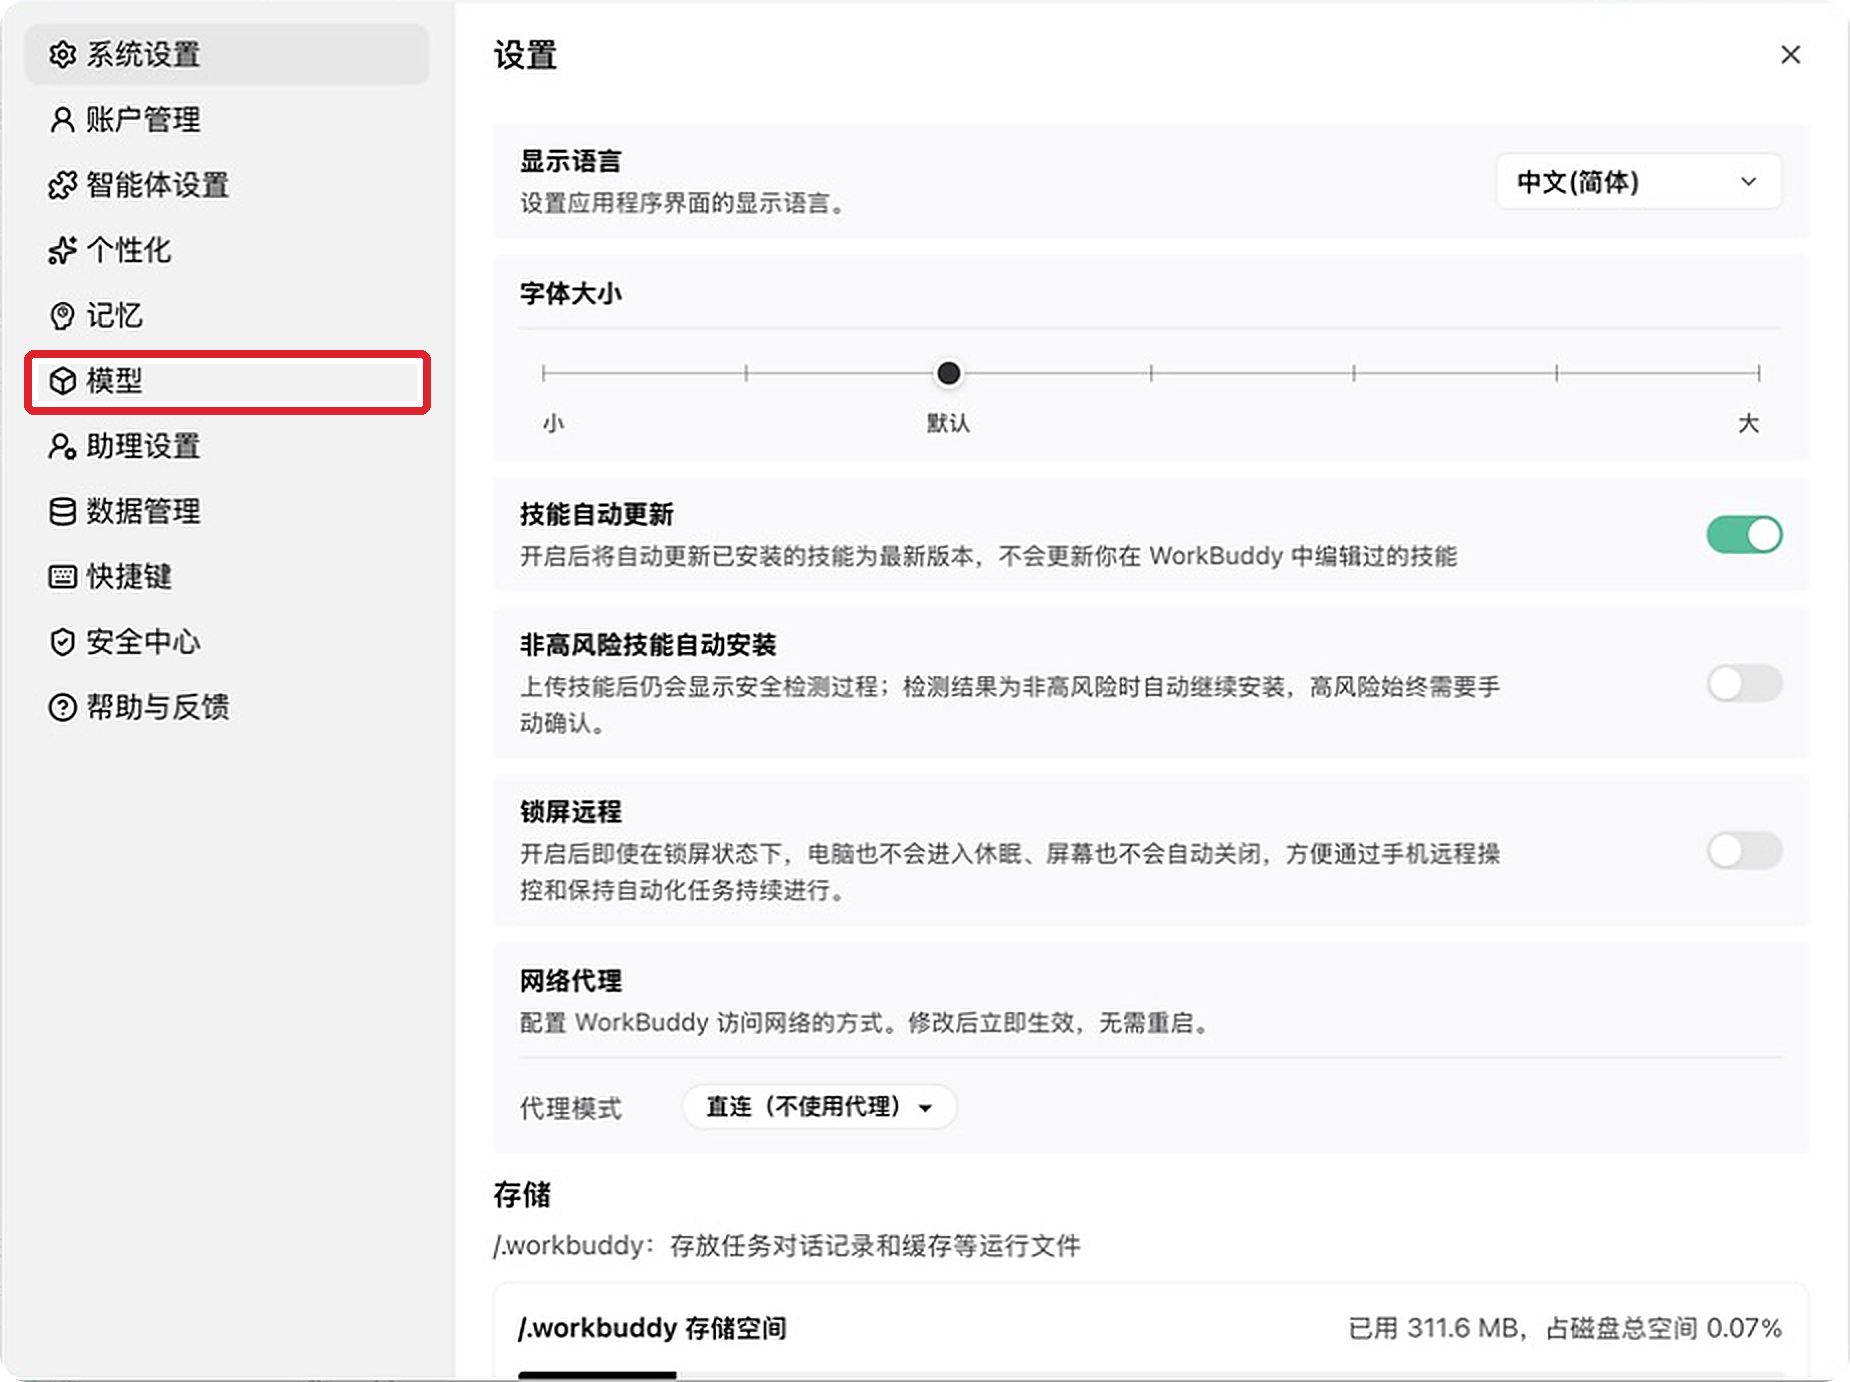
The Models page displays the local configuration path and the Add Model button.
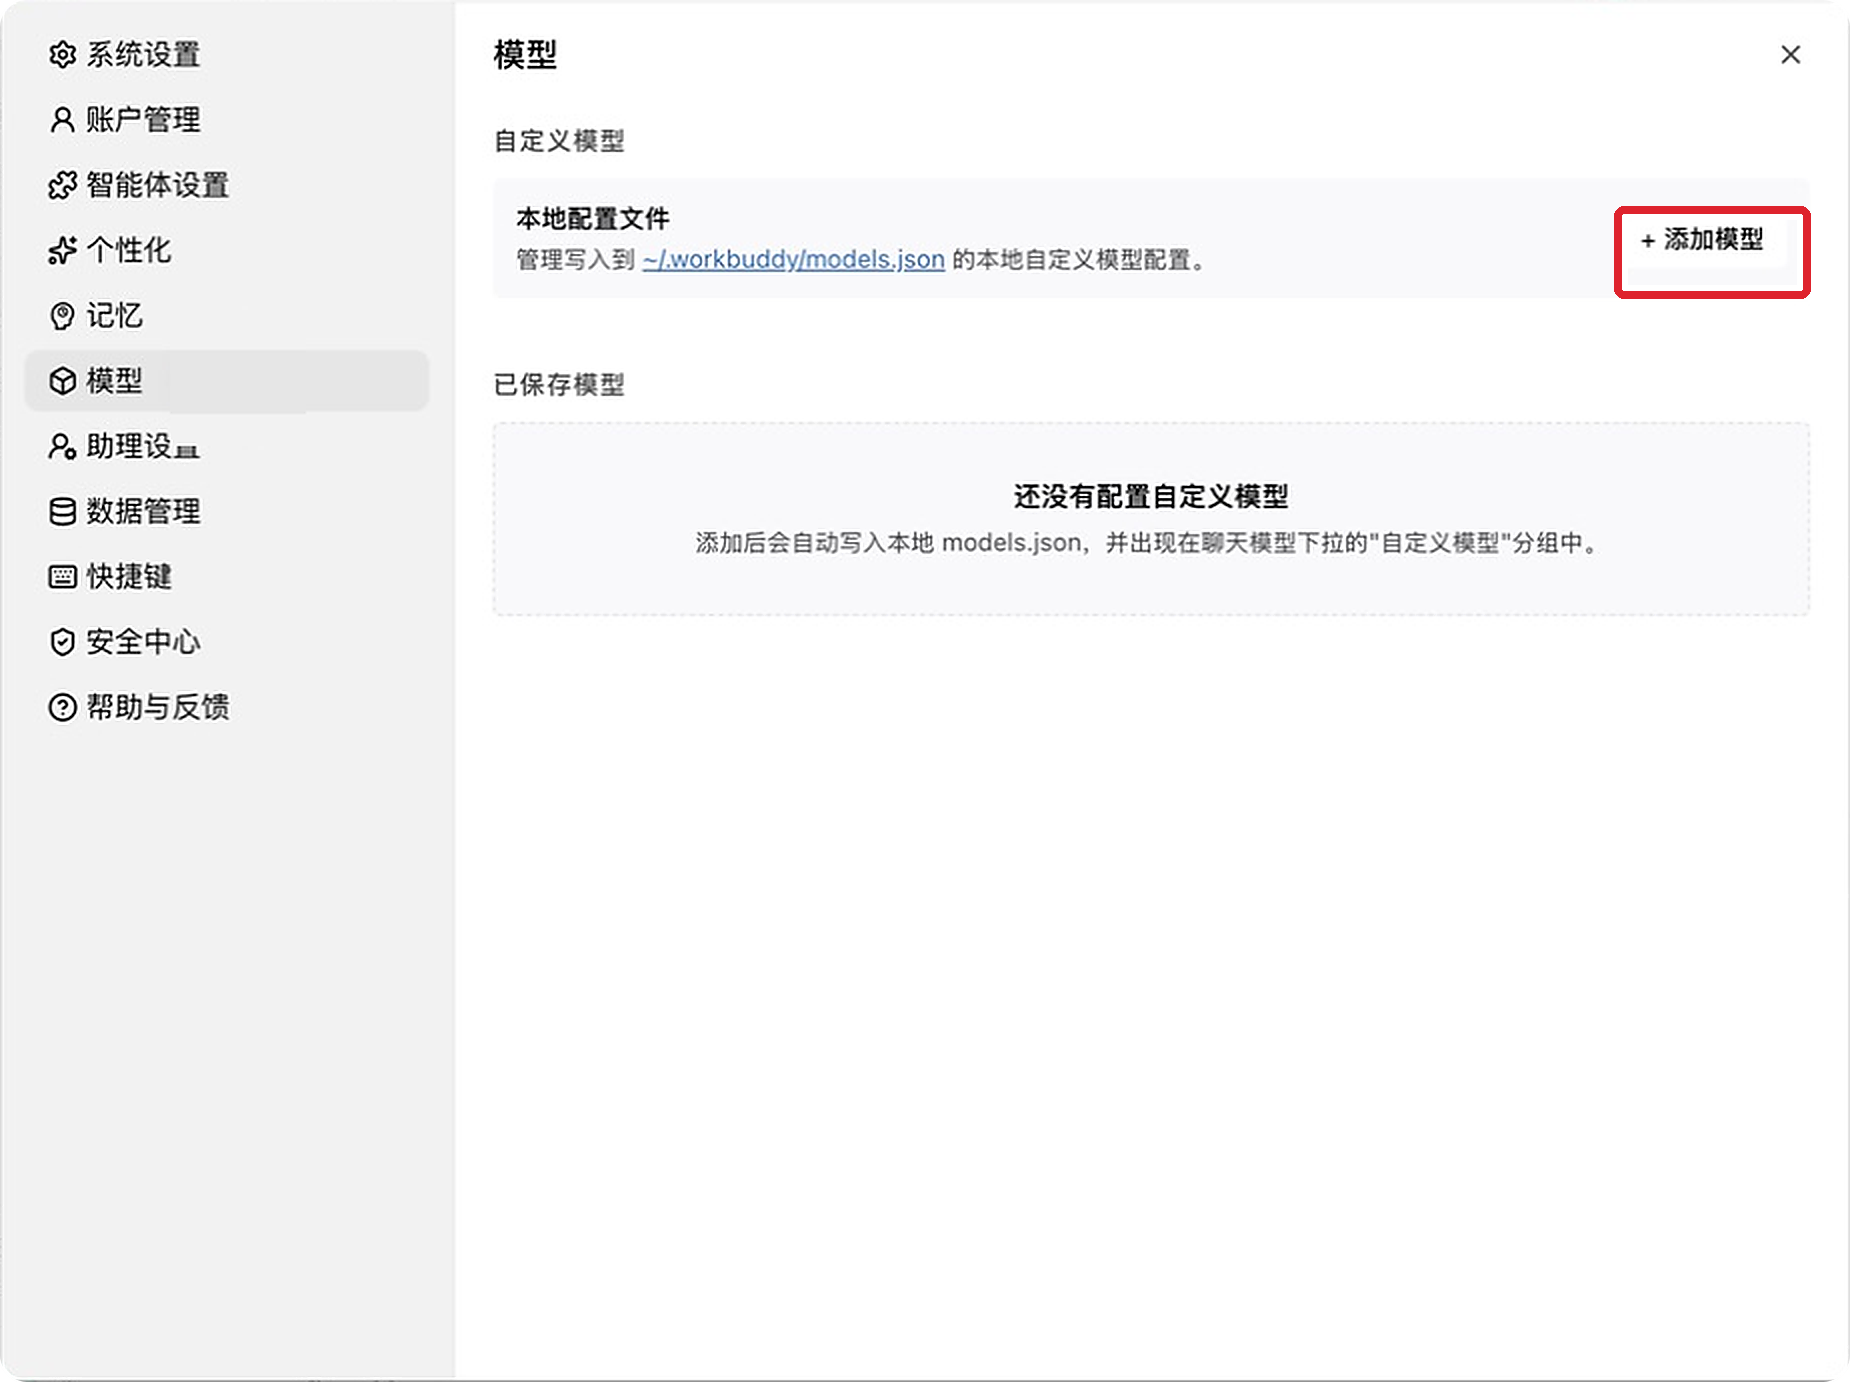
The Models page displays the actual local configuration path. WorkBuddy Desktop normally uses ~/.workbuddy/models.json; the official model configuration guide also documents migration compatibility with existing ~/.codebuddy/models.json configurations.
3. Enter the Model Configuration
Select Custom at the bottom of the provider list. WorkBuddy's custom entry currently requires an OpenAI-compatible API, which TokenFlux provides.
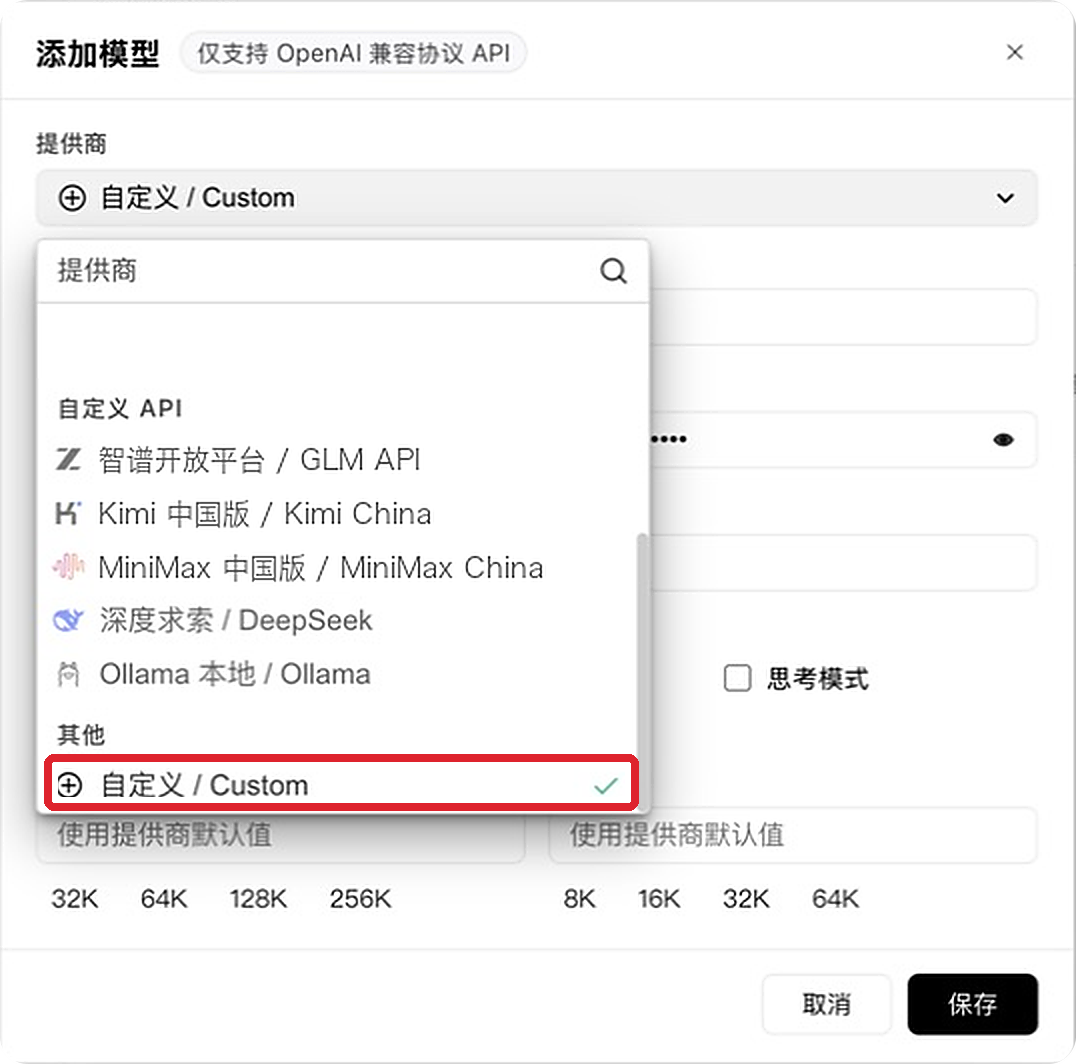
Then complete the form:
| Field | Recommended value |
|---|---|
| Provider | Custom |
| Endpoint | https://tokenflux.dev/v1/chat/completions |
| API Key | TokenFlux API key |
| Model Name | The exact model ID from the marketplace, such as gpt-6-astra |
| Tool Calling | Enable it; gpt-6-astra supports tool calling |
| Image Input | Enable it so WorkBuddy can send images to the model |
| Reasoning | Enable it to use the reasoning capability of gpt-6-astra |
| Custom Protocol | Leave disabled to use the OpenAI Chat Completions-compatible protocol |
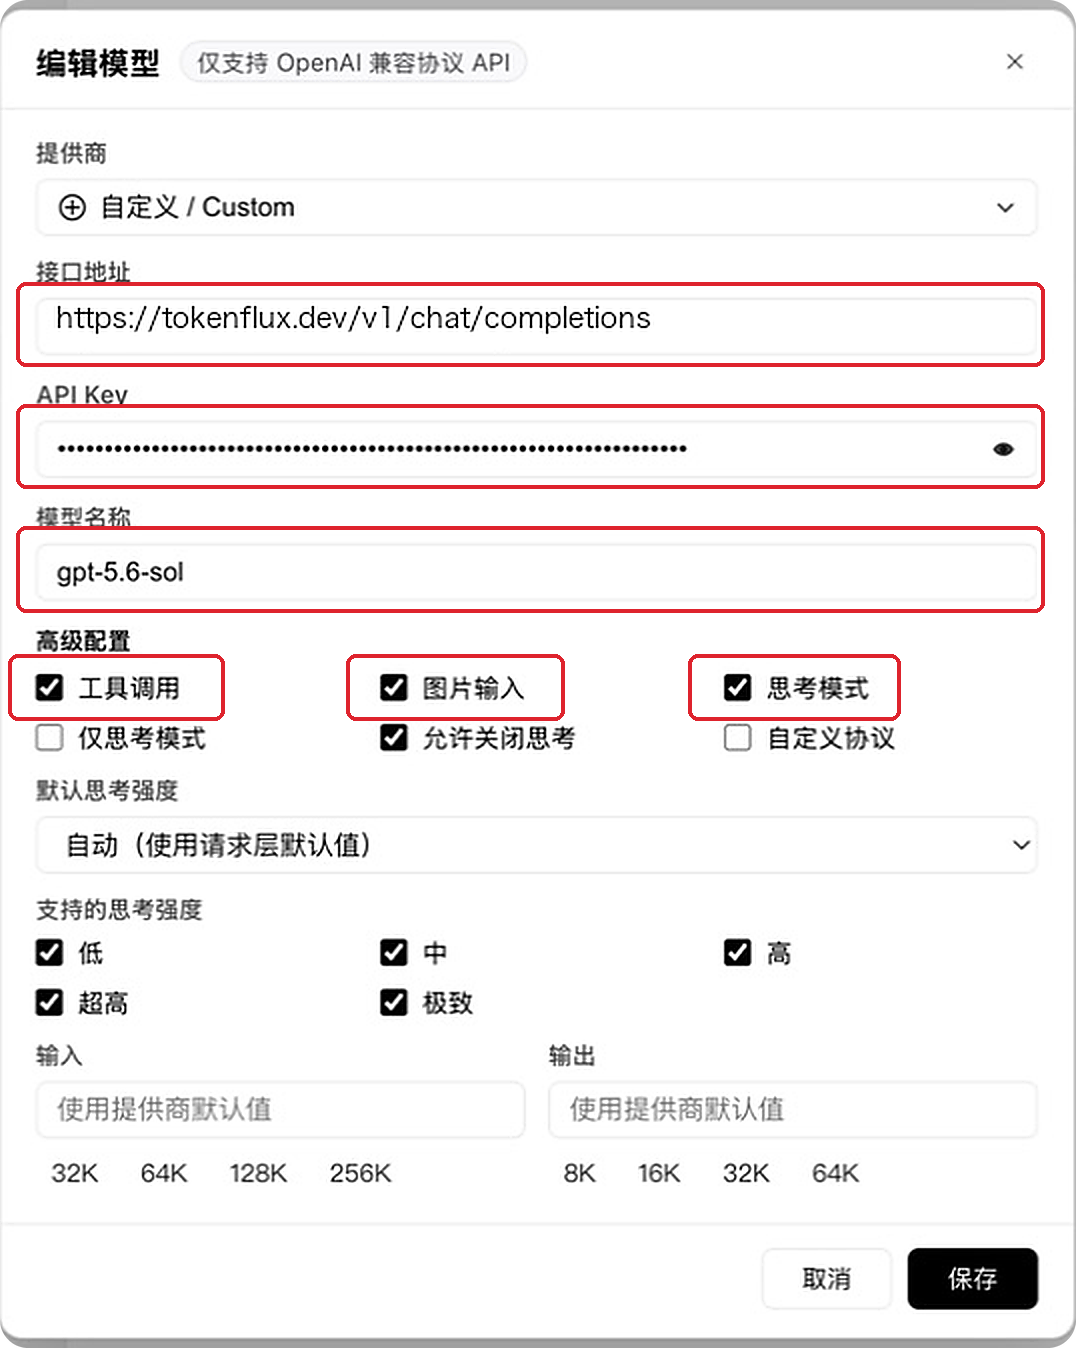
Enter the complete endpoint
Enter the complete endpoint ending in /chat/completions. WorkBuddy 5.3.5 does not automatically append the request path to /v1.
Leave Custom Protocol disabled for TokenFlux
When enabled, WorkBuddy skips standard OpenAI Chat Completions path validation. It is intended for non-standard gateway or proxy routes and is not required for TokenFlux's standard OpenAI-compatible endpoint.
When using a composite key, include the group prefix in the model name, for example GPT/gpt-6-astra. The prefix and model ID must exactly match the composite-key mapping.
4. Save and Verify
Click Save. The model is written to the local configuration file shown on WorkBuddy's Models page.
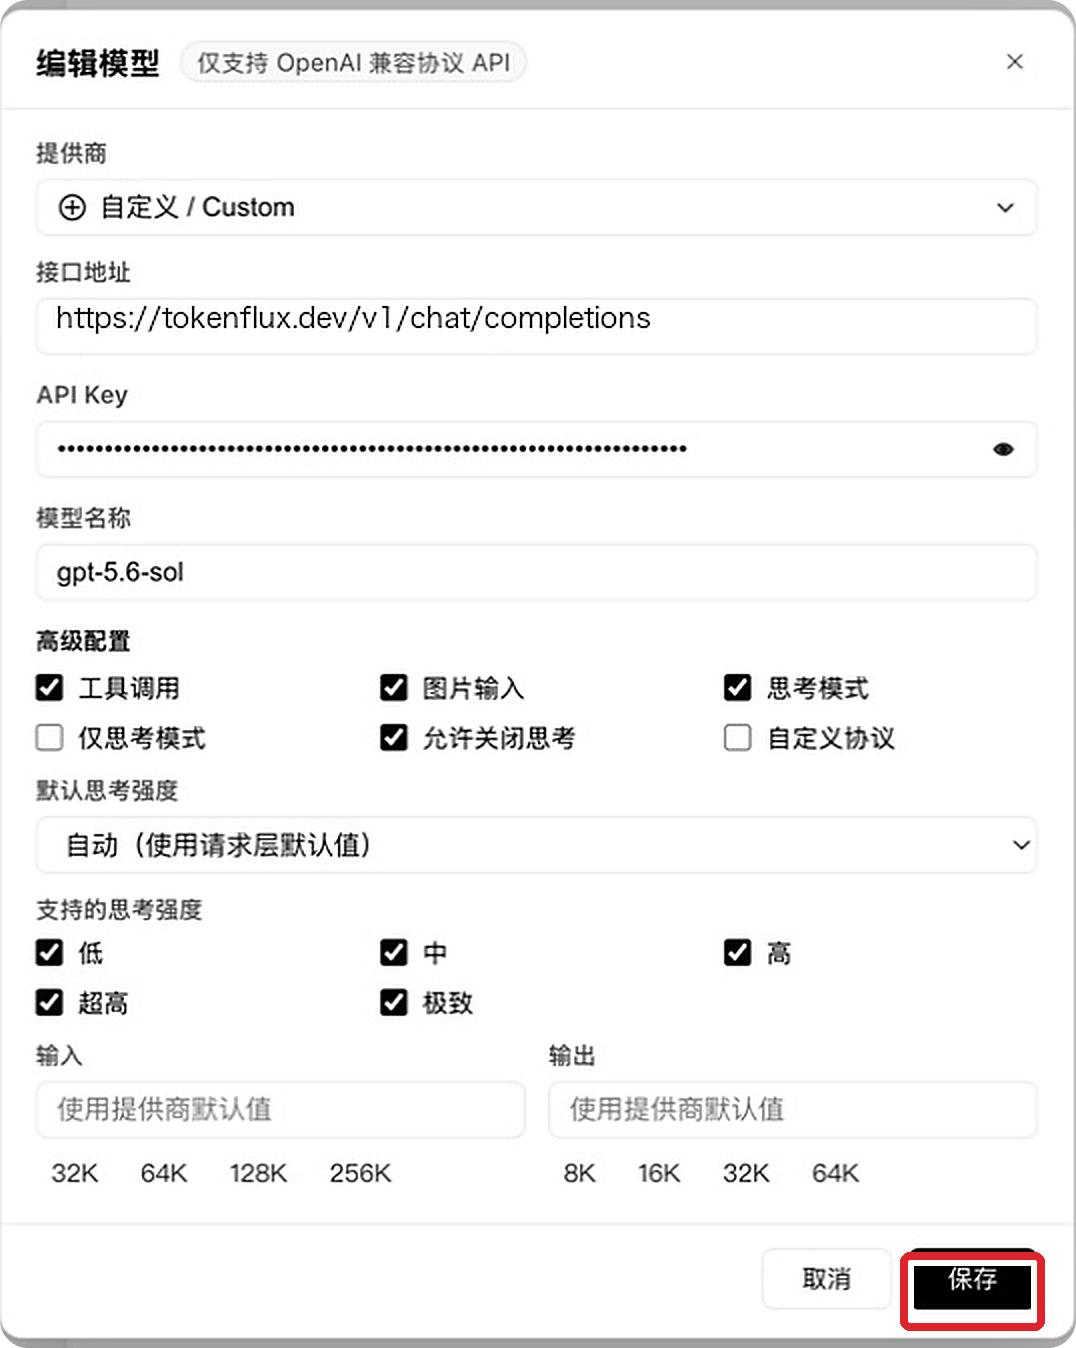
After saving, confirm that
gpt-6-astraappears under Saved Models.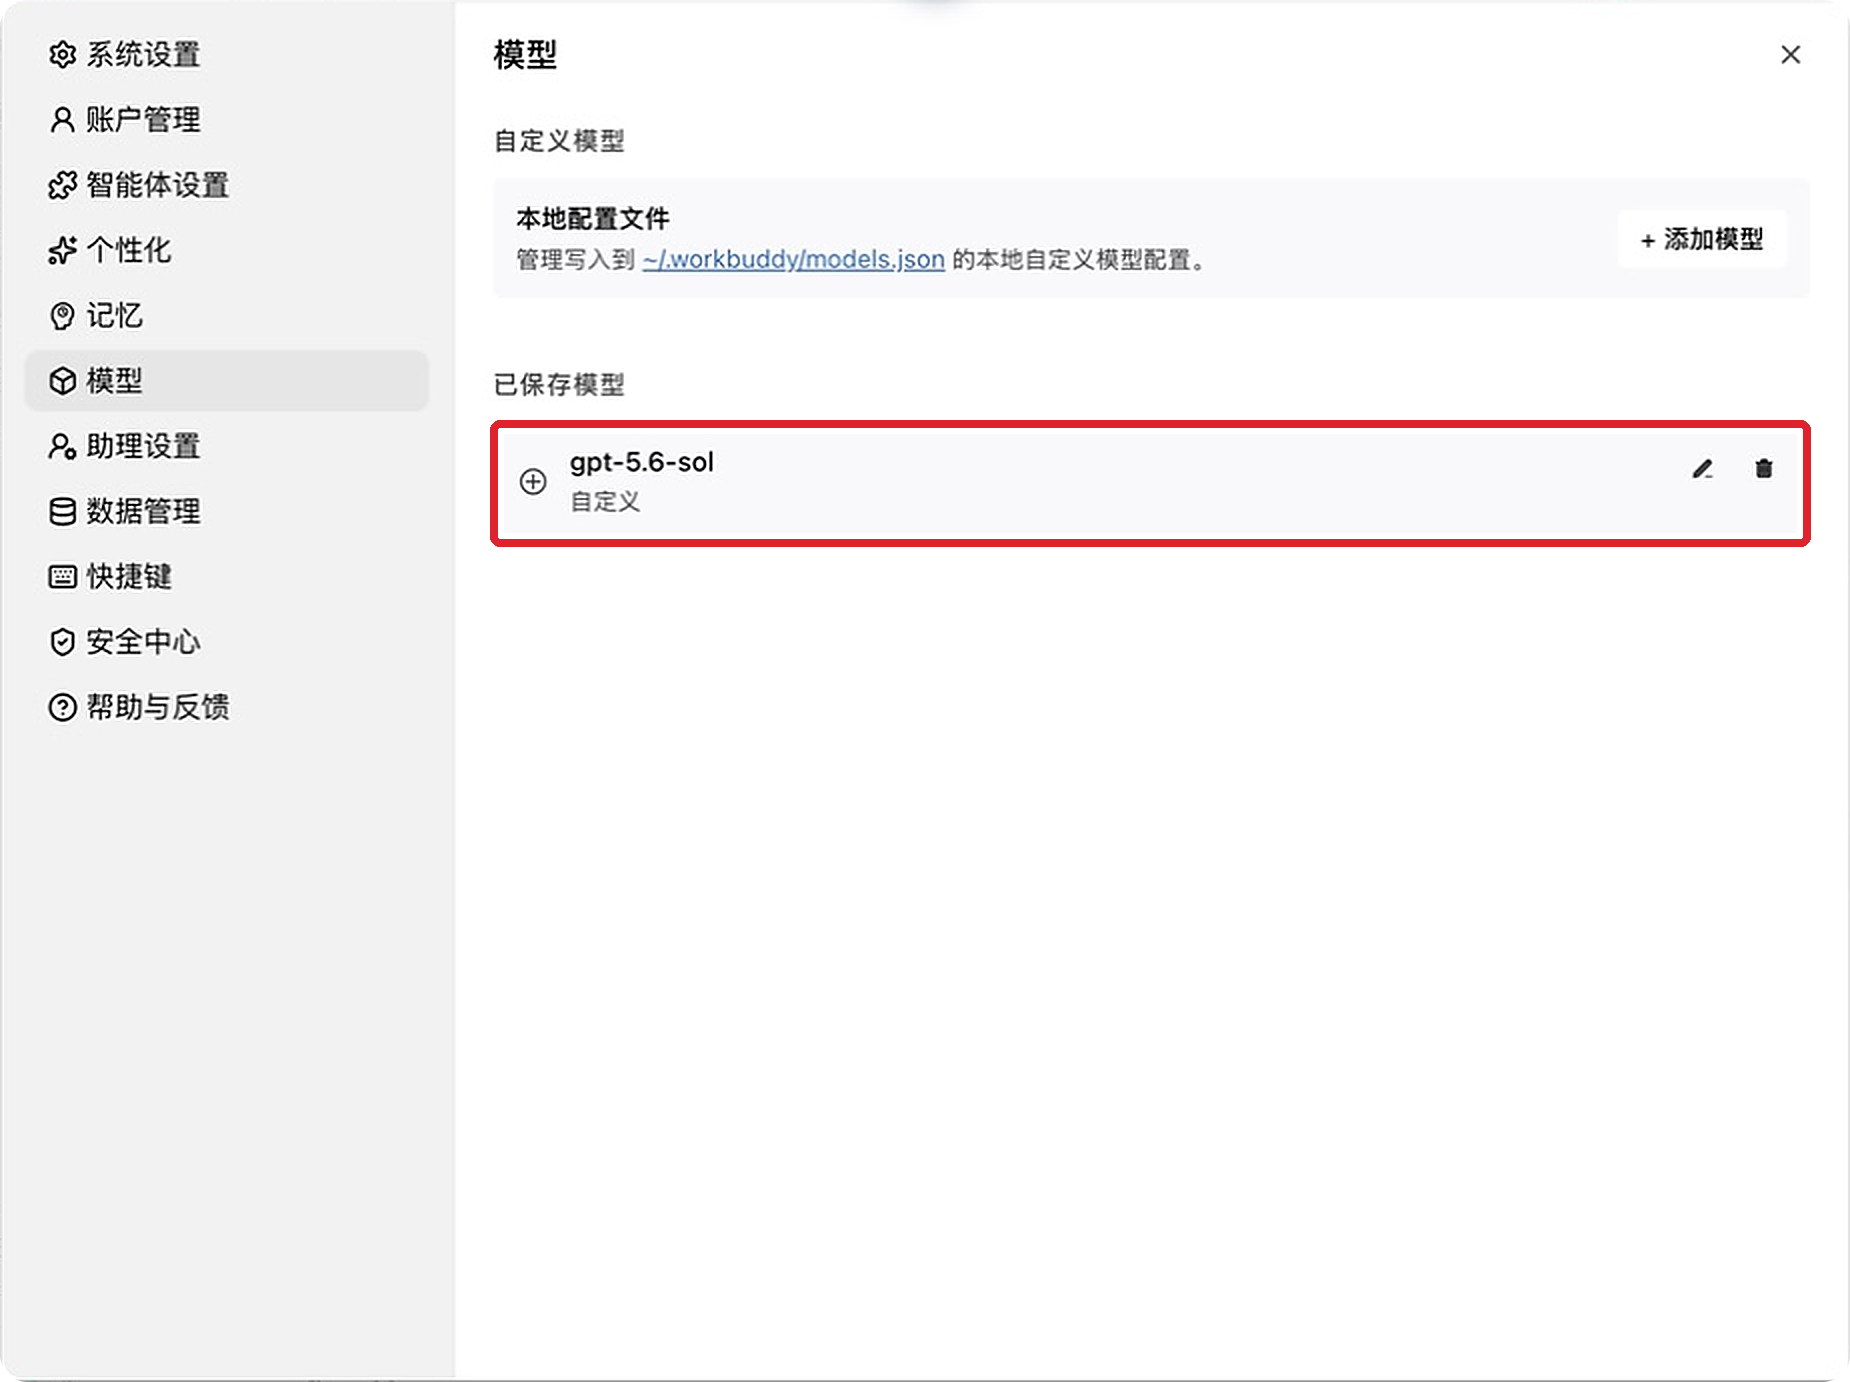
Return to a new task, open the model selector, and choose
gpt-6-astraunder Custom Models.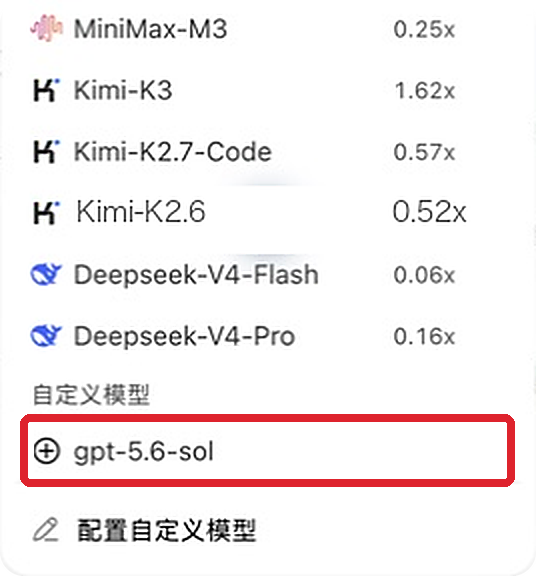
Send a message, such as
你好("Hello"), and confirm that the selected model responds.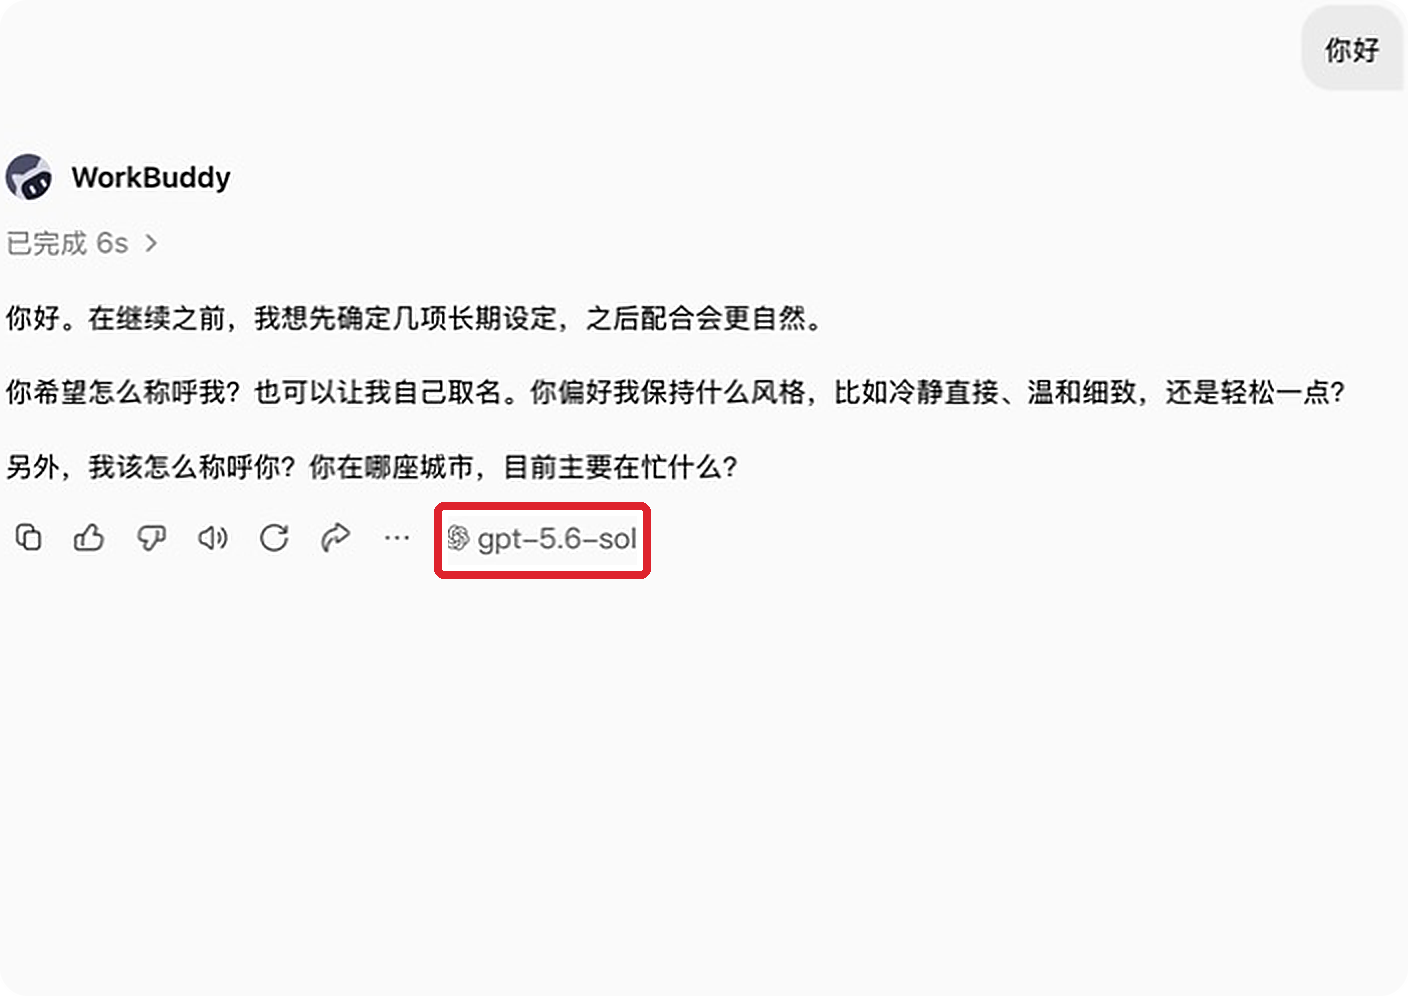
Once basic chat succeeds, test a tool-enabled task, such as asking WorkBuddy to create and read a text file in a temporary directory.
Troubleshooting
The saved model does not appear
Reopen the model selector or create a new task. Enterprise administrators can disable personal custom models, so enterprise users may need an administrator to enable the policy.
The agent does not call tools
Edit the model and enable Tool Calling, then confirm that the upstream model actually supports tool calls. A client-side switch cannot add tool support to an incompatible model.